Server HPWBJTAD
The Web Jet Admin project was initiated shortly after I joined the infrastructure team at the IT department of GHEF. During a discussion with a colleague from the support team, he explained to me that the printer fleet at the Meaux Hospital consisted of models from various brands (Canon, Konica, HP, Zebra, etc.), which made gathering information sometimes complex.
HP Web Jet Admin is a free solution developed and offered by HP that centralizes the management of a printer fleet, even when it includes equipment from various brands. This tool also allows the retrieval of all information related to each printer.


VM Windows
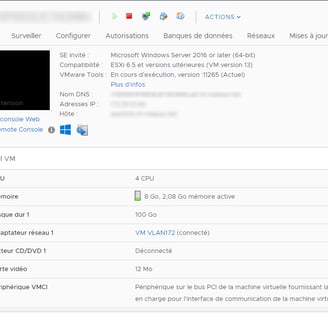
Unlike previous projects, this service is not hosted on a physical server but on a virtual machine, which is itself hosted on an ESX infrastructure. I won't go into the details of the ESX specifications, but I can provide the information regarding the specifications of the virtual machine hosting the service

Ressources
The complete documentation, as well as the software, are available for free download via the button below.
Setup
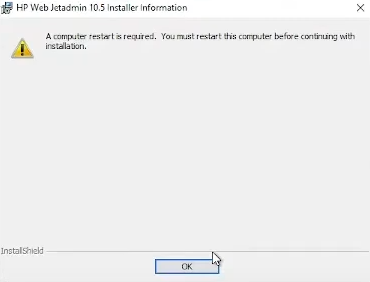
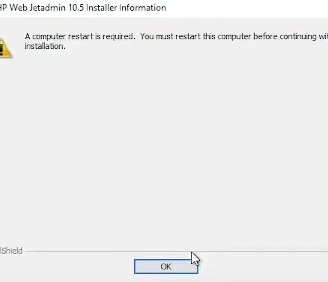
After obtaining the executable from HP's website, simply launch the executable. After a few seconds, the installation will prompt for a restart of the machine.
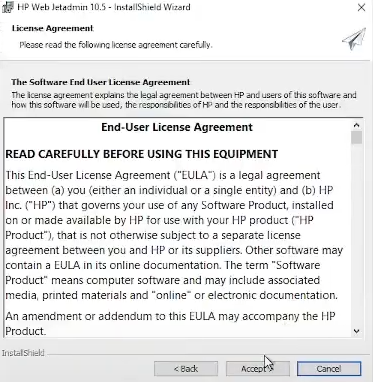
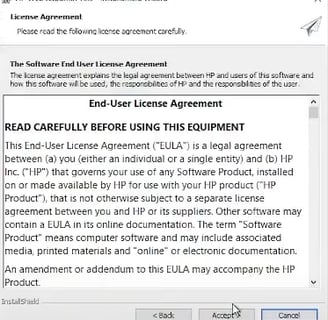
Once the machine has rebooted, relaunch the executable. This time, you will be directed to a page where you need to accept the terms and conditions.
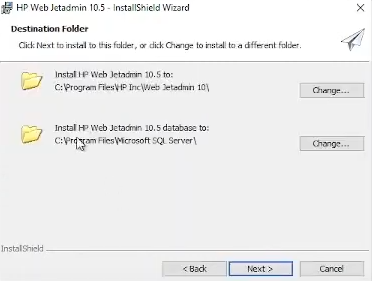
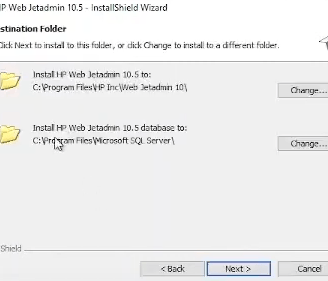
It is important to note that in addition to the application, the executable also installs an SQL database. On the next screen, after accepting the terms and conditions, you will be asked to verify the installation path for both the application and the SQL database.
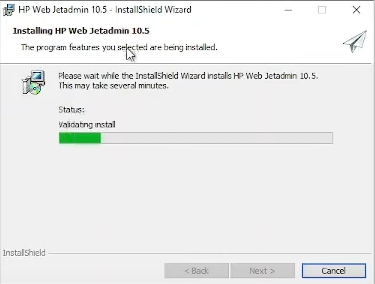
Once the installation paths are defined, the executable will begin installing the application as well as the SQL database.
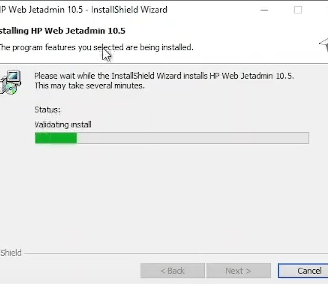
Once it is finished, the installation wizard will close automatically. HP Web Jet Admin is now installed.
Network configuration
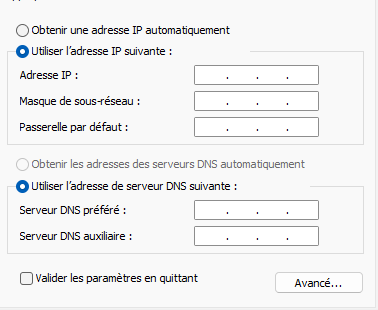
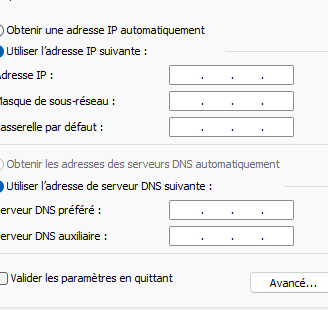
Now that the application and the database are installed, the next step is to set up the network configuration of the server by assigning it an IP address.
Once the network configuration is set up, you can remotely connect to the server by entering its IP address. I didn't mention this earlier, but during installation, a web service is also installed along with the application and database. This web service will allow us to interact remotely with the server, without the need to connect through Vcenter or RDP.
In the example I'll provide below, I'll be connecting directly via localhost on the server for privacy reasons. However, if I want to interact remotely with the server, I simply need to replace "localhost" with the server's IP address, and the result will be the same.
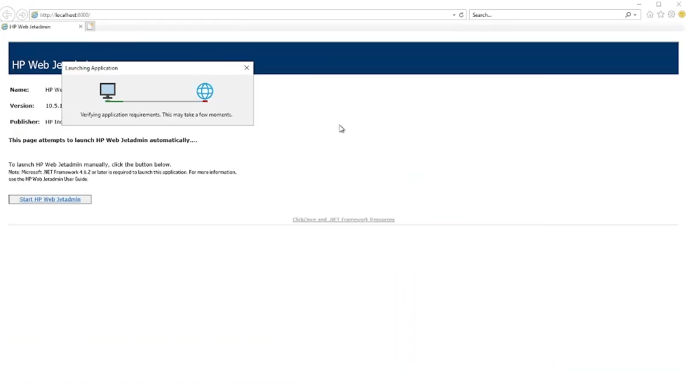
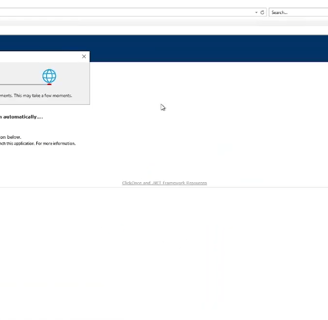
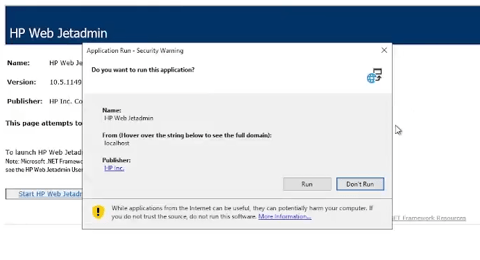
When connecting to the web server, a thin client offers to be installed. This client will allow us to connect to the application directly from the browser.

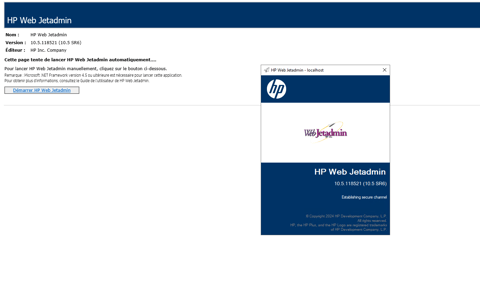
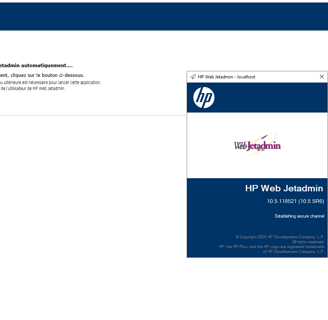
Once the client has finished installing, the connection to the application will initiate.
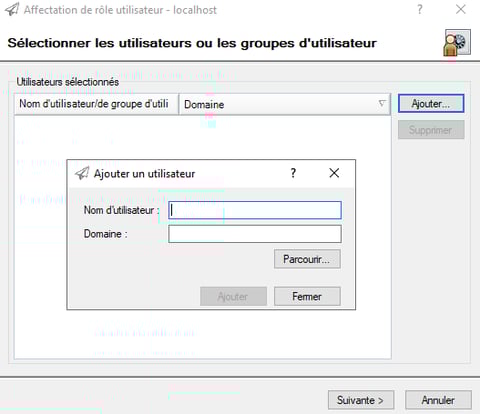
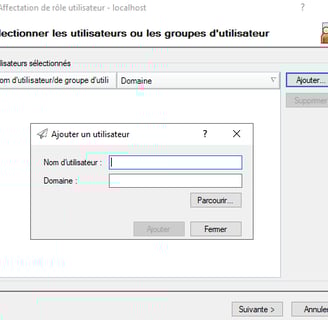
It is worth noting that it is also possible to set up an LDAP connection to secure access to the application. By default, if nothing is configured, anyone with access to the server can access the application. Therefore, I decided to establish an LDAP link between the domain and the application to enhance security.
Once logged in, you can directly interact with the various printers that were previously detected. However, during the first login, since no scan has been performed on the network, there will logically be no printers. Therefore, it is necessary to initiate a device discovery on the network. The scan can be done based on several criteria: IP broadcast, IP range, specified addresses, Active Directory, etc.
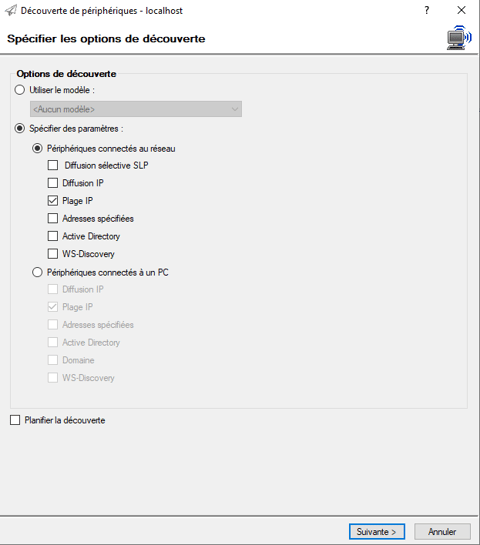
The scan can take more or less time depending on the size of the range being scanned. The larger the range, the longer the scan will take. Once the scan is complete, the printers detected during the scan will appear in the main window of the application. From there, it is possible to retrieve a lot of information about the printers and even interact with them.
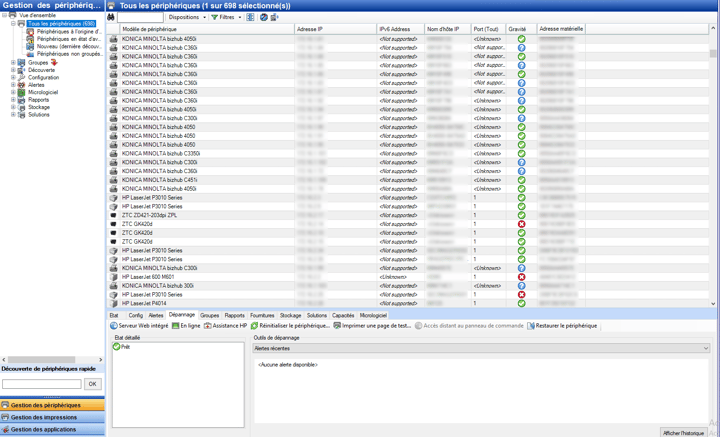
The left sidebar allows you to create categories to organize the devices by department, for example (e.g., Accounting, IT, Management, etc.), which makes it easier to manage and locate a device quickly.
The central part provides a summary of the essential network information for each printer. For confidentiality reasons, I have blurred certain information. It is possible, for example, to export one or more devices to cross-reference the information with another source.
Finally, the lower part is the interactive section. This section allows you to perform actions like restarting the printer, printing a test page, resetting the printer to its factory settings, or even installing firmware remotely.
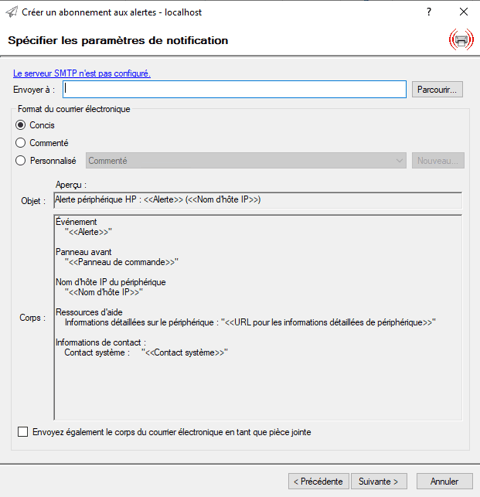
It is also possible to configure an SMTP server to set up alerts for devices. For example, you can receive an alert when toner levels drop below 10%, or in case of paper jams, among many other scenarios.
There are many other features offered by the application, but these are features I haven't had the opportunity to fully explore yet. Nevertheless, it must be acknowledged that for a free tool, the possibilities are quite interesting and numerous.
This project was the first one I was assigned to, just a few days after I joined GHEF. It allowed me to begin understanding the infrastructure in place, while also helping the support service optimize its time on interventions related to the printer fleet.