Proxmox Server
This project began during my experience at the company MA France. The IT department was previously operating on a hypervisor that required a paid license. In an effort to reduce the financial costs associated with IT infrastructure, and after some research, the IT department realized that there was an open-source solution, Proxmox, that could do everything the previous hypervisor could do.
It was with this goal in mind that I was able to participate in setting up this hypervisor server.
HPE ProLiant DL325 Gen10
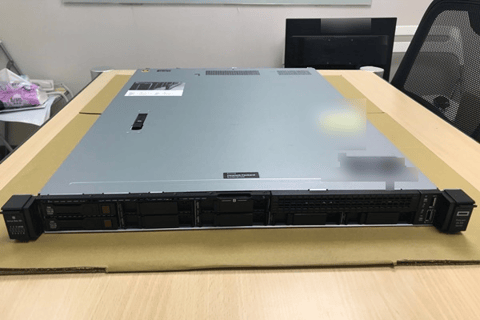
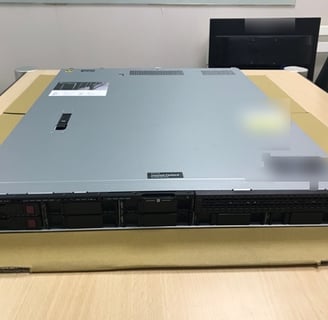
For this project, the IT department decided to use an HPE ProLiant DL325 Gen10 server. The choice was made for this model because it is optimal for virtualization purposes.
It is equipped with an AMD EPYC processor, which offers an excellent price-to-performance ratio, particularly due to its high number of cores (up to 64 cores per processor), making it an ideal processor for virtualization and parallel workloads.
In addition to this processor, the HPE ProLiant DL325 Gen10 is equipped with 256 GB of RAM. It can support up to 2TB, but in my case, 256 GB was more than sufficient as the infrastructure was hosting around 20 virtual machines.
For storage, we chose 8 SATA/SAS SSDs, each with a capacity of 1.92 TB. These 8 SSDs were configured in RAID 5. The raw capacity of these 8 disks totals 15.36 TB, but since they were configured in RAID 5, the actual usable capacity is 13 TB, as one disk is reserved for parity.
Proxmox
Proxmox Virtual Environment (Proxmox VE) is indeed a powerful and versatile platform for virtualization. It combines the benefits of KVM for full virtualization, which allows running multiple operating systems on the same physical server, and LXC for containerization, which offers a lightweight and efficient alternative. This combination allows for a flexible and scalable environment, ideal for both virtual machines (VMs) and containers.
The web-based interface of Proxmox VE is highly intuitive, making it easy to manage the lifecycle of virtual machines, containers, and storage. Additionally, it supports advanced features like snapshots, which are crucial for backup and system recovery, as well as replication for creating failover solutions. The integration with Ceph provides distributed storage capabilities, making it suitable for large-scale environments where high availability and redundancy are required.
Proxmox VE is an excellent choice for those seeking an open-source alternative to commercial solutions like VMware or Hyper-V. Its cost-effectiveness, coupled with robust features, makes it an attractive option for businesses looking to optimize their virtualized infrastructure. With its flexibility and open-source nature, Proxmox allows users to tailor their setup to specific needs, while also benefiting from the extensive community support and regular updates provided by the platform.
Boot
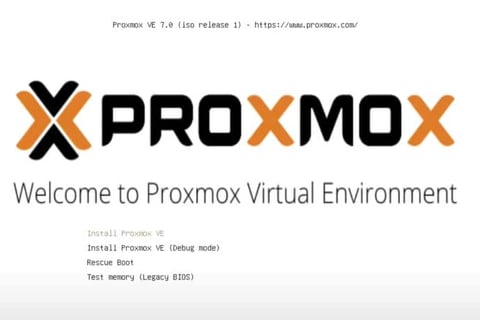
Initially, I had to create a bootable key to install Proxmox on our server. I won't go into detail about this part. I obtained the ISO directly from and used as the utility to create the key.
Proxmox official website


Setup Proxmox
First and foremost, it is important to ensure that the virtualization technology feature is enabled in the BIOS settings to allow virtualization.
On Intel processors, this feature is usually called VT-x or Virtualization Technology, but in our case, since we are using an AMD EPYC processor, the option is called AMD-V, or SVM, or Secure Virtual Machine.
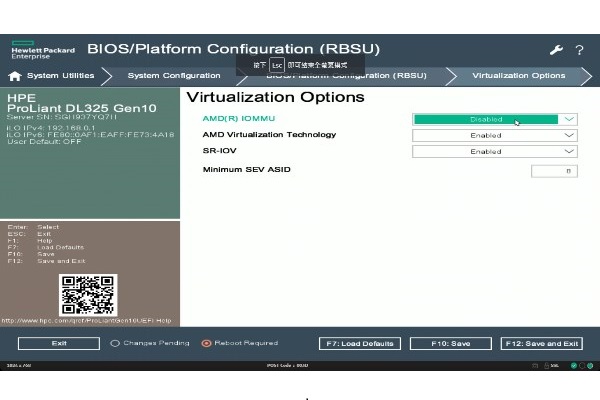
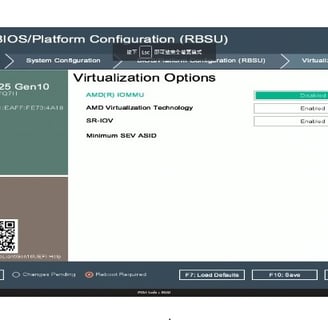
Once AMD-V has been enabled, all that remains is to save the changes and reboot from the USB drive to begin the Proxmox installation process.
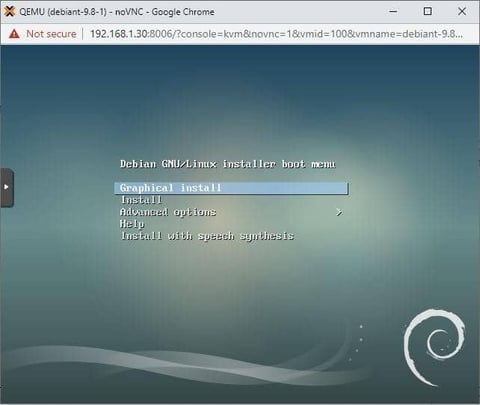
Here we are at the installation of the Proxmox system. For the rest of the installation, I won't go into detail as the installation process is very similar to that of any other system: choosing the keyboard layout, network settings, creating a superuser, disk partitioning, etc...
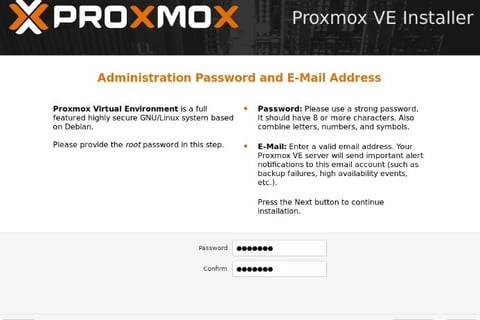
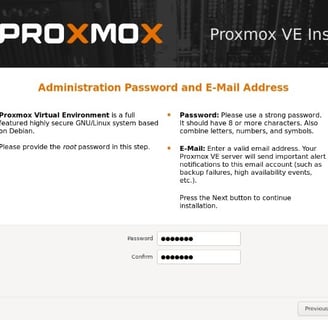
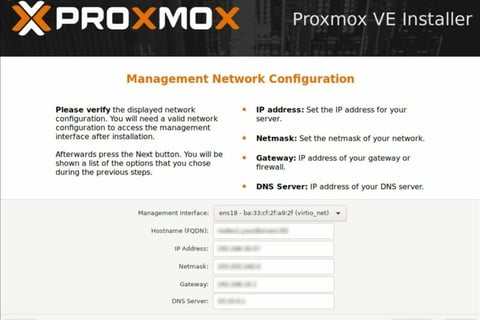
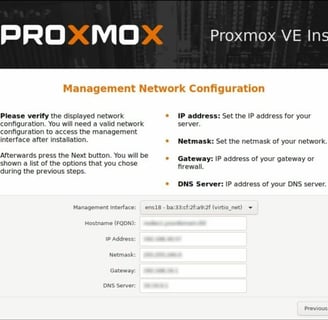
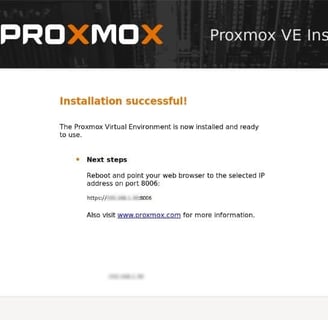
Once all the elements are filled in, the installation is complete and all that's left is to connect to our server via the web interface using port 8006 (by default).

The Proxmox interface
By entering the IP address of the Proxmox server, followed by port 8006 (by default), you can now access the Proxmox management interface.
Once logged into the server, you will need to authenticate. For this, I used the account that was created earlier during the installation.
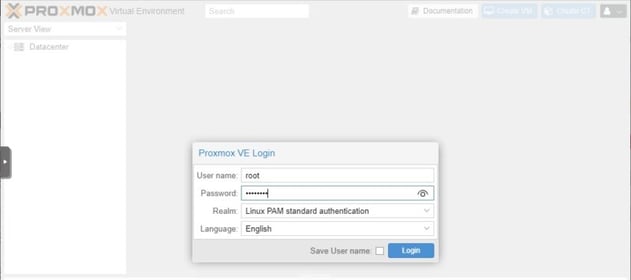
A small clarification regarding the "Realm" option on the authentication form:
PAM: This is the Pluggable Authentication Module used in Linux/UNIX/BSD operating systems to store local user information. It is stored at the system level and delegates authorization to log into a machine. It is the default module under Linux.
PVE: This is a database stored in Proxmox that holds information about users who can log into the Proxmox web interface. It does not grant authorization for actions like SSH or Shell access to the underlying operating system. Instead, it only delegates authorization for accessing Proxmox interfaces, such as the WebGUI or the API.
In my case, since the management will be done through the web interface, I will use the PVE realm.
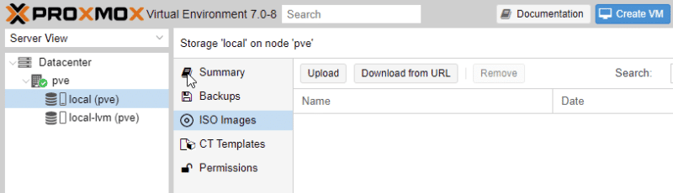
Import an ISO file into Proxmox
To install operating systems on our virtual machines, I first had to download the system images (ISOs) and import them into Proxmox.
Once downloaded, I had to store them in the "ISO storage" within Proxmox.
Create a VM
Once Proxmox was installed and configured, and the ISOs of the various systems were in the storage, I had to create the first VM.

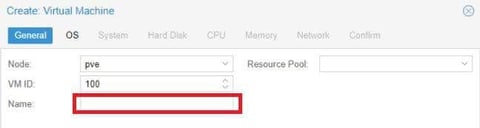
We name the VM and assign it an ID to easily identify it among other VMs.
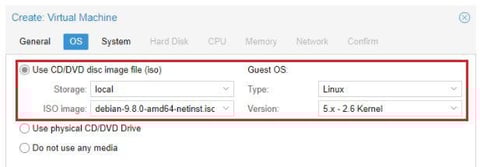
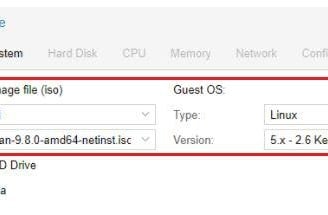
Next, we define the system image that will be installed on the VM. It’s worth noting that it is possible to use a physical CD/DVD drive or even a USB drive directly connected to the server.
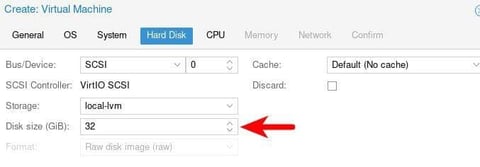
On the next screen, we can configure various aspects of the system by checking "Advanced." This allows us to modify settings such as the Firmware type (BIOS or UEFI), the disk type (IDE, SCSI, SATA), SSD emulation, automatic startup, CPU type, etc.
There are many options to use carefully and with knowledge, as an incorrect configuration could prevent the VM from booting properly.
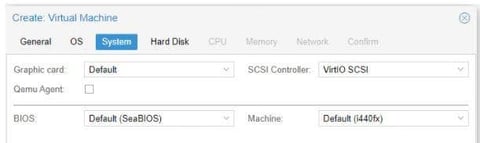
Now, we need to define the CPU specifications, with the option to modify the vCPUs (virtual processors).
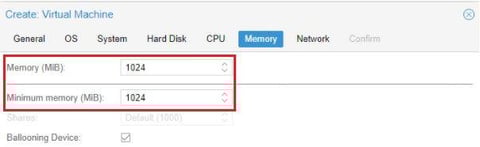
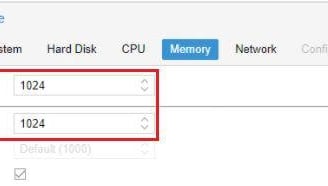
Next, I defined the amount of RAM allocated to the VM. It's possible to set both a maximum and minimum amount, which helps prevent resource monopolization based on the machine's usage.
The Network section is quite simple: you select the "Bridge" interface and optionally the VLAN tag (VLAN Tag).
The virtual machine is now created, and all that's left is to start it.
Start the VM
To start the newly created VM, simply right-click on the machine's icon in the left menu and select "Start."
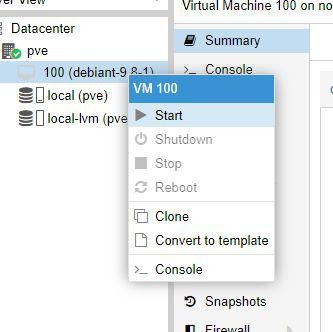
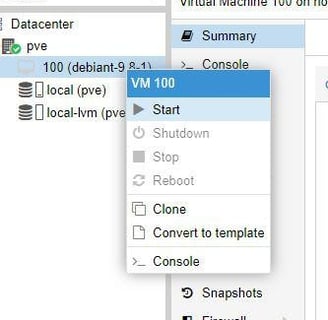
Another option is to select the VM, as done previously, and then click "Start" at the top right of the screen. Additionally, this menu includes a "More" button, which allows you to destroy a machine and its associated storage, i.e., the virtual disk.
This menu also allows you to create a template (a VM model), which can then be cloned as needed.

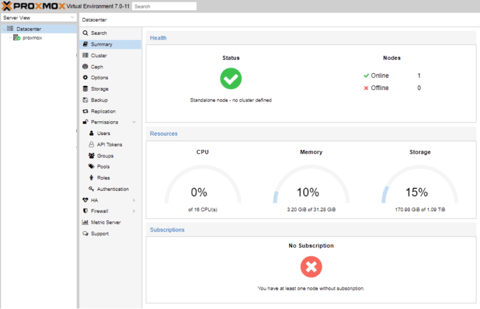
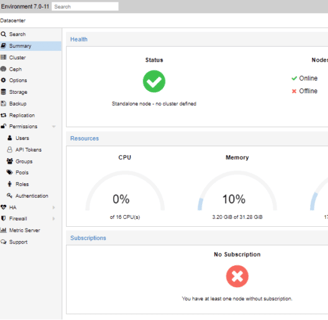
Once the machine is started, you can access the metrics by selecting "Summary" (CPU load, RAM, storage space, etc.). It's also possible to monitor the status of the hypervisor by selecting "Datacenter" and then "Summary."
Finally, to access a virtual machine that I created, I simply need to double-click on its icon in the left menu. This action opens a window that provides access to the graphical interface of the virtual machine.