Nextcloud Server
This project began during my experience at MA France. Users expressed the need to share files both with their internal colleagues and external partners. However, some of these files contained sensitive information, including financial data. As a result, the IT department was concerned about the risk of data leaks associated with using public cloud services such as Google Drive or OneDrive.
To address this issue while ensuring data security, I proposed to the IT department the implementation of an internal cloud solution, allowing confidential data to be hosted within the company without relying on external servers.
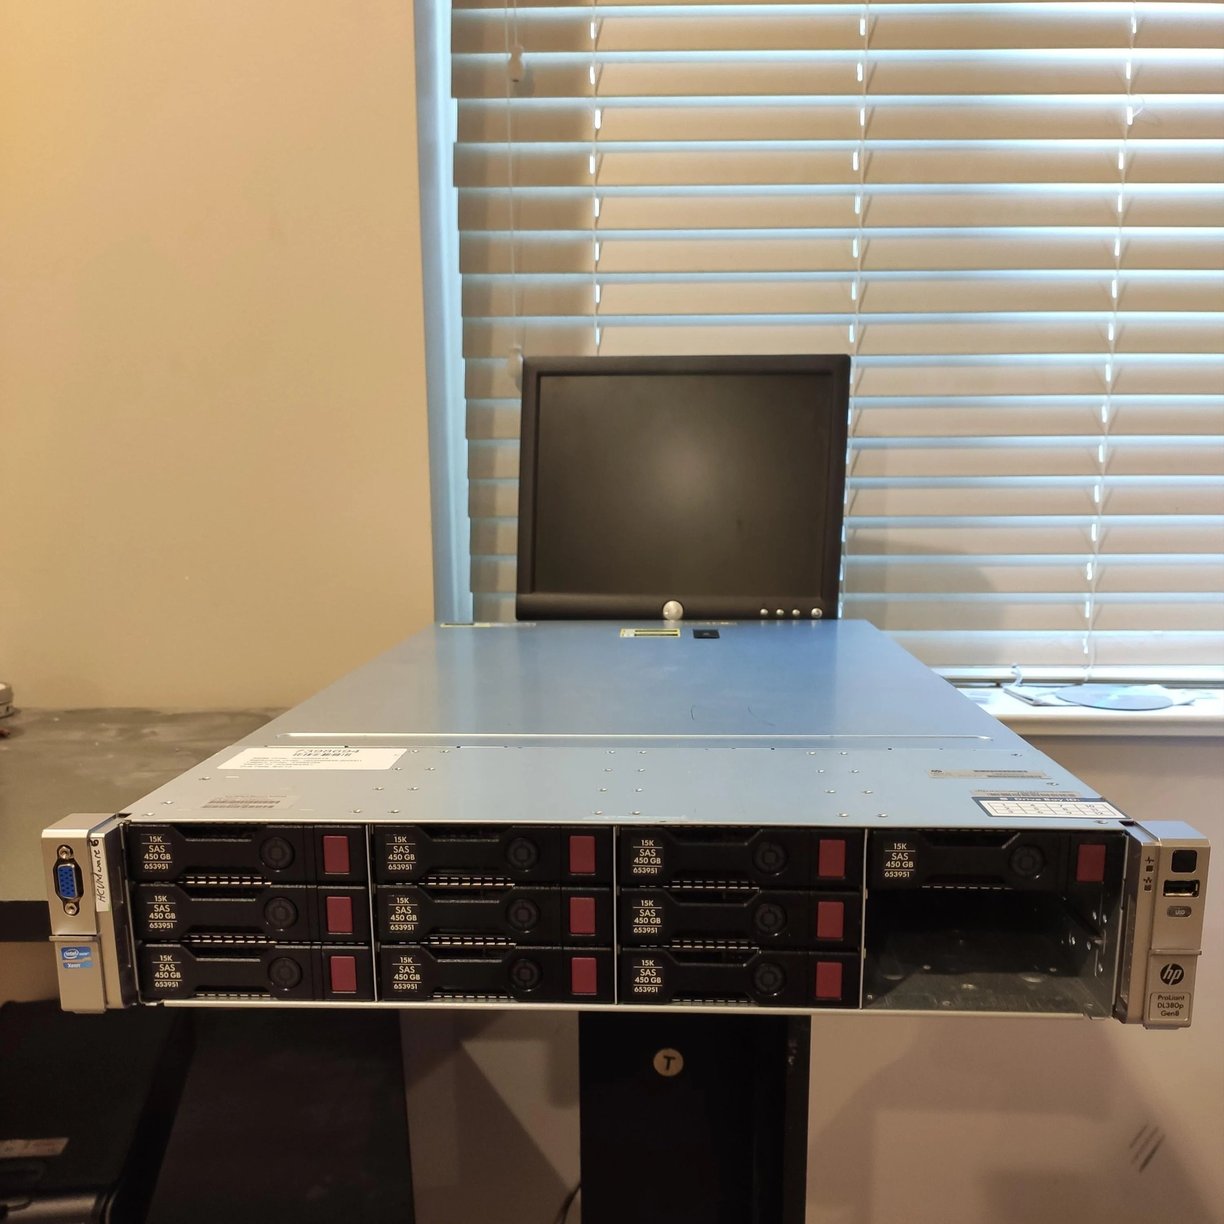

HP DL 380p Gen8
As part of this project, the company provided me with an HP DL 380p Gen8 server equipped with 10 hard drives of 450 GB each. I opted for a RAID 5 configuration, offering a good balance between performance and data security. While the raw storage capacity is 4.5 TB, the effective capacity is approximately 4 TB due to the space allocated for parity.
Since some of the data stored on this server is sensitive, ensuring its protection in the event of hardware failure was essential. RAID 5 was chosen for its ability to provide fault tolerance through the use of a parity disk while maintaining good performance.
The technical specifications of the physical server are available at the following link: https://www.hpe.com/psnow/doc/c04123238.pdf
Debian
I chose Debian because it is known for its stability and long-term reliability, which is crucial for a solution like Nextcloud, where continuous data and service availability is essential.
Additionally, Debian offers fine resource management, allowing Nextcloud to run smoothly even under heavy load, thanks to its lightweight nature and optimized architecture. The Debian community also provides regular updates and security patches, which is a key factor in protecting sensitive data hosted in the cloud.
Finally, Debian supports a wide range of open-source software and offers maximum flexibility for customizing the server environment, enabling optimal Nextcloud configuration according to the company's specific needs. Moreover, Debian is well-documented, making server administration easier with plenty of available resources when needed.

Apache
To begin the installation of Nextcloud, we first need to set up a web server. I chose Apache for this role.
Before anything else, I decided to perform a system-wide update to ensure that all packages are up to date. Then, I proceeded with the installation of the Apache service.
Once the service installation was complete and I had verified that it was functioning correctly, it was necessary to set the www-data user (Apache) as the owner of the web root directory. By default, this directory is owned by root.
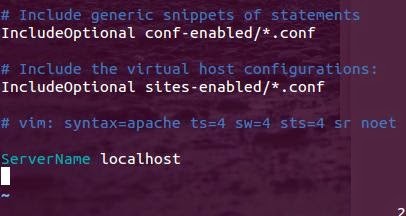
Finally, the ServerName must be defined to enable name resolution on the server. To do this, the servername.conf file needs to be modified to include the desired DNS name.
Finally, the configuration file must be enabled, and the Apache service restarted for the changes to take effect.

MariaDB
To create my database on the web server, I decided to use MariaDB. MariaDB is an open-source relational database management system, derived from MySQL. It was created by the developers of MySQL after its acquisition by Oracle, with the goal of providing a compatible alternative to MySQL while adding advanced features, better performance, and enhanced security. It is widely used for web applications and enterprise systems due to its robustness and flexibility.
I then proceeded with the installation of MariaDB on my web server.
Once MariaDB was installed and after verifying that the service was working correctly, I ensured that the service would start automatically upon each machine reboot.
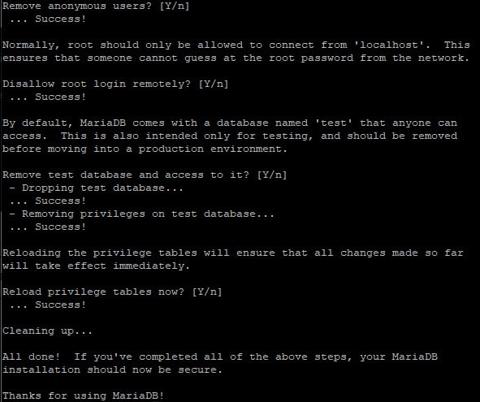
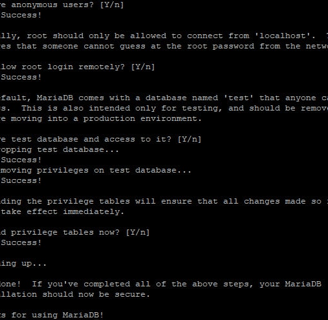
Finally, all that was left was to run the MariaDB configuration script, which allows the database to be initialized with a well-guided installation process.
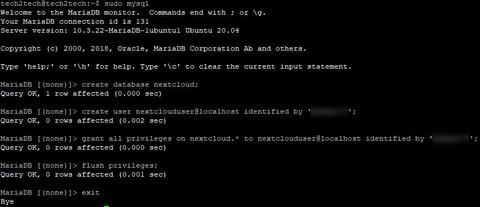
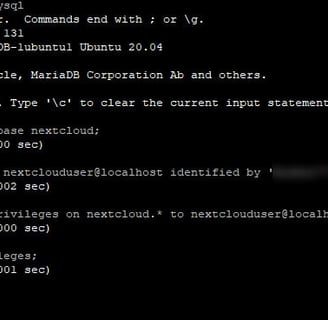
Now that MariaDB was correctly installed and configured, I needed to create my database and the user who would be dedicated to managing my Nextcloud.
After creating the user dedicated to managing Nextcloud, I had to grant them the necessary privileges to interact with the database.
The command below applies the changes made to the database.
PHP
PHP is used to process client requests by dynamically generating web pages. When a user accesses a PHP page, the server executes the PHP code to retrieve or manipulate data (often from a database), customize the content, and send a dynamic HTML page to the client, thereby creating an interactive and responsive experience.
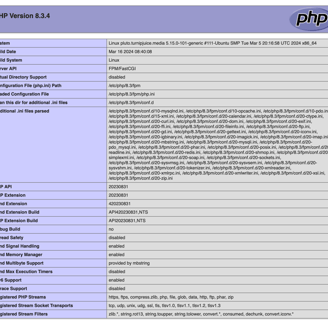
I then installed PHP along with all its dependencies.
Once installed, I had to ensure that the PHP service would start automatically when the machine boots up.
After completing the installation and configuration of the services, I had to delete the 'info.php' file, which is automatically generated during the PHP installation. I removed it based on the recommendation of my CISO (Chief Information Security Officer). He explained that leaving this file as is could allow malicious individuals to obtain sensitive information.


Nextcloud
Now that all the prerequisites were installed on my Debian server, all that was left was to install the Nextcloud application.
Once downloaded, I had to install a utility to unzip Nextcloud and extract it into the /var/www directory.
After unzipping the contents into /var/www, I had to ensure that the 'Apache' user had the necessary permissions to function correctly.


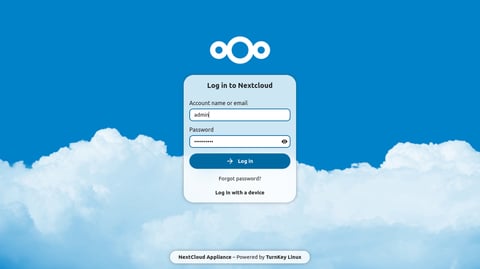
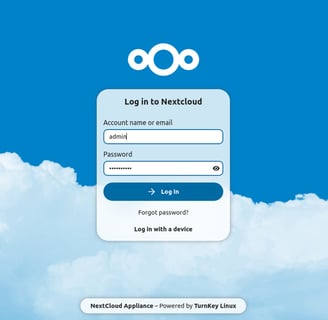
At this point, I was able to access Nextcloud from the web browser to reach the interface. However, having 'http' in the address instead of 'https' bothered me, so I looked into using a self-signed certificate.
For the certificate, I decided to use Certbot. Therefore, I had to install Certbot.
Once Certbot was installed, I had to 'claim' the self-signed certificate using the following command.
Now that my self-signed certificate was installed, all that was left was to create the 'DATA' directory where the users' data would be hosted on the Nextcloud server. After creating the directory, I had to ensure that the Apache user (www-data) had the necessary permissions on the directory.
This project holds a special place in my professional development as it is the very first one I was in charge of. It also gave me a deeper understanding of how services like Apache, MariaDB, and PHP work. Additionally, it helped me gain a better grasp of the overall functioning of Linux systems. Beyond my professional growth, it also allowed the company where I carried out the project to store its data on a local server instead of a cloud server, while providing its employees/partners with a reliable tool for file exchange and storage.